According to the application, the projector can be divided into two types: front projection and rear projection. The so-called front projection is that the viewer and the projector are located on the same side of the projection screen; while the rear projection is that the viewer and the projector are located on both sides of the projection screen, that is, the projector directly projects toward the viewer.
This article refers to the address: http://
The feature of rear projection is that the optical screen controls the light path and projects bright and clear images into a predetermined viewing range. In addition, the presenter and the viewer stand in front of the image without leaving a shadow, but also keep the viewing range quiet, clean and so on. However, if the rear projection is used, the installation requirements of the screen are high and the processing is complicated. So next, Projection Times Network will send you the installation of the rear projection screen and some common sense to prevent the damage of the rear projection screen for your reference.
First, let's take a brief look at the production process of the rear projection screen. The entire manufacturing process of the rear projection screen includes screen design, mold making, tool making, material making, screen forming, quality inspection and size reduction. However, the optical rear projection screen is made of optical grade Acrylic resin, which is an easily scratched material. Once scratched, it will form bright spots or black spots in the corresponding range of the image. If it is a large-area scratch on the rear projection screen, it may cause the scratched part to be unimaged. So how to protect the screen is very important.
Measures to prevent back curtain damage
During the entire transportation process of the rear projection screen, it is necessary to ensure that the packaging box is intact and lightly handled; it is strictly forbidden to press other heavy objects on the screen to avoid sharp corners of the object or to stab the rear projection surface; rear projection After the curtain is unpacked, it must be lifted in the vertical direction during the handling process. The horizontal lifting is easy to cause deformation of the acrylic resin material. During the installation of the rear projection screen, all the workers must wear anti-slip and soft. Gloves, and remove as much as possible of the items you carry, such as rings, pens, watches, etc.
Rear projection installation
1. Considering the expansion coefficient of the acrylic resin material, the error of the rear projection screen size, and the convenience of the rear projection screen installation, it is recommended that the size of the rear projection screen mounting inner frame be 10-20 than the actual size of the screen. Mm, for example: the actual size of the rear projection screen is 2083 × 1575mm, then it is recommended that the size of the rear projection screen mounting inner frame is at least 2093 × 1585mm;
2. Since the manufacturer has a recommended value for the optimal image display area of ​​each size rear projection screen, the requirements for the size of the rear projection screen mounting frame will also vary depending on the size of the screen size. Special attention should be paid.
Screen surface contamination treatment
1. Use a pneumatic gun or vacuum cleaner to remove any contamination from the surface. If there is no suitable tool, gently wipe it with a clean soft silk cloth;
2. If the screen is stained with oil that is difficult to insert, use a cloth with a small glass of distilled water containing a glass cleaner of Armonia (ammonia) to clean it carefully. The amount of detergent must be strictly controlled to avoid the cleaning agent along the back screen. The light path forms a large area of ​​penetration.
3. When wiping the Lenticular Lens on the front of the rear projection screen, it should be inserted in the upper and lower order in order to follow the pattern.
4. When rubbing the Fresnel lens on the back of the screen, follow the pattern and insert it in the direction of the concentric circle.
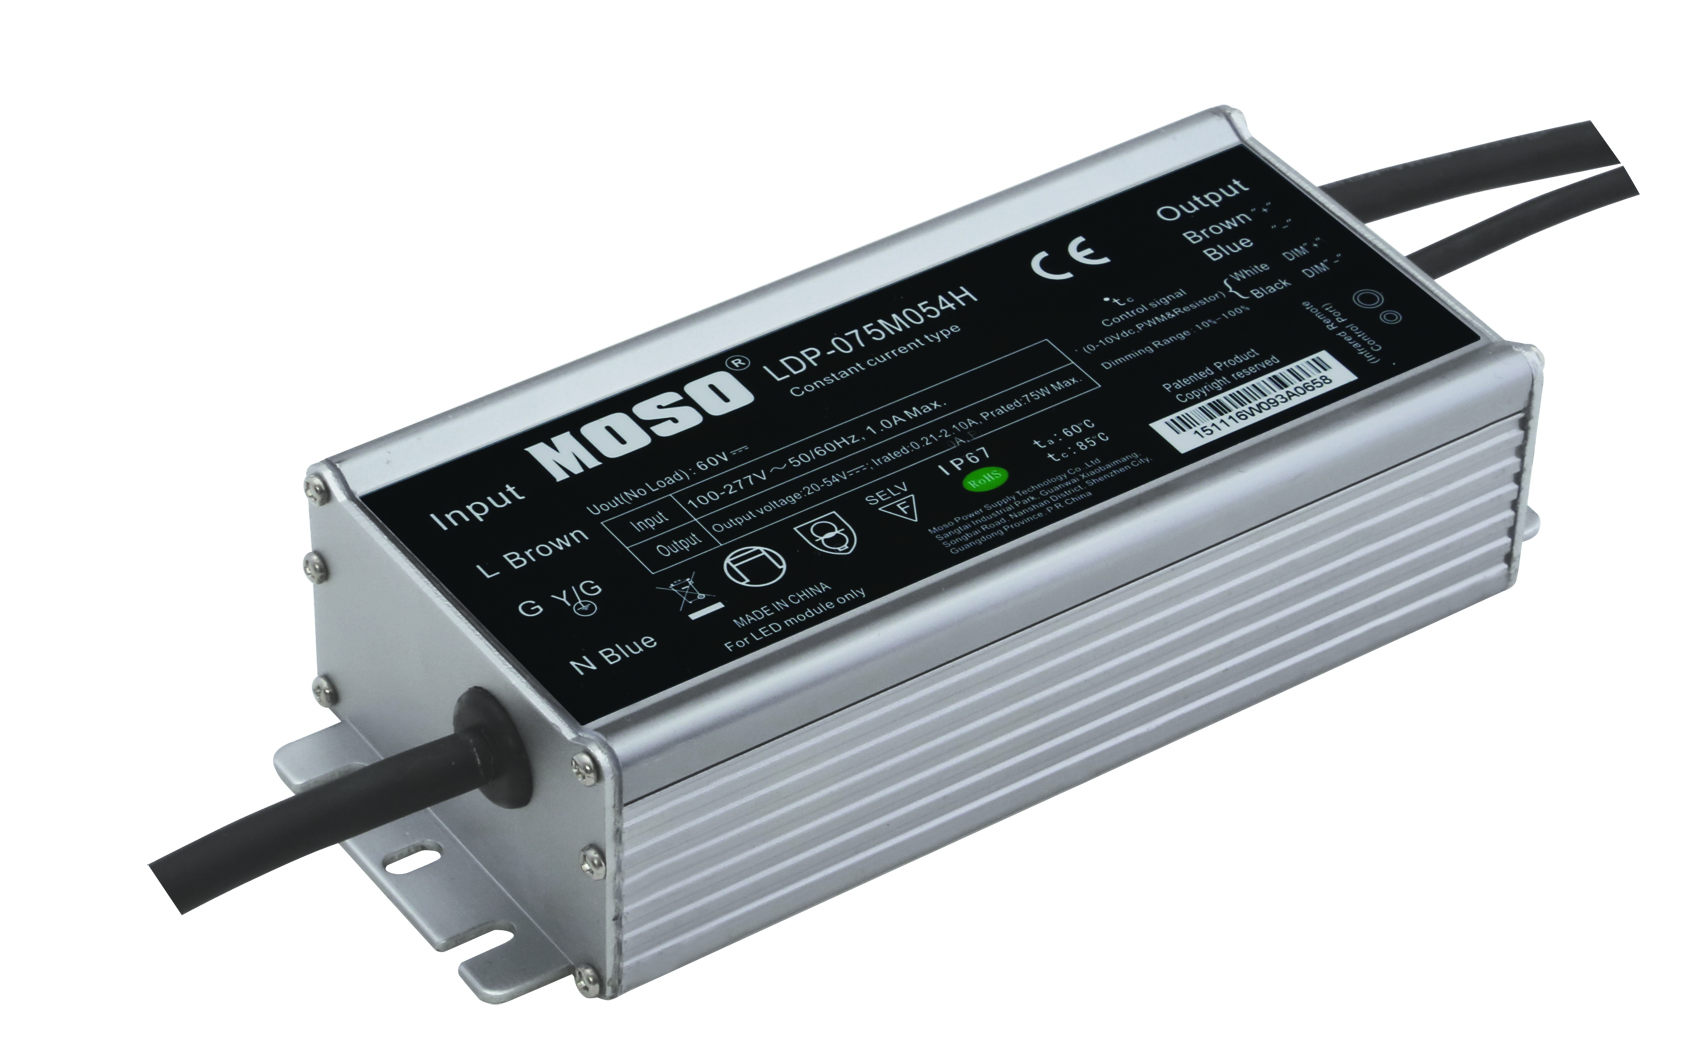
The output current programmable constant power led driver is the most high-profile solution for Flood Light LED Driver from 42W to320W. It`s compatible with various safety regulations, certified with UL, CE, TUV, ENEC, CB, SAA, BIS, KC, etc, integrating the function of output current adjustable with 3-in-1 dimming, for customers to choose the output current demand and 1-10Vdc, PWM signal and timer control by just one single driver.

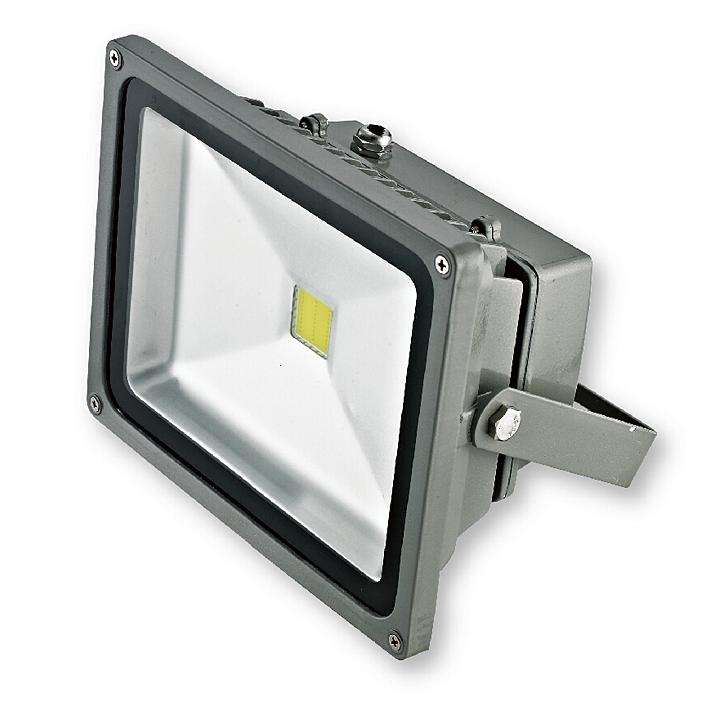
The output current adjustable led driver is a perfect power proposal for led Flood light, the flood light led driver power from 26W to 150W. It does satisfy the demands for both function and cost effective together, certified by CE institute. The compact metal case and high efficiency enables the driver to operating with high reliability, and extending product lifetime to at least 50,000 hours.

The economic output current fixed led control gear is focused on quality reliable and cost decreased at the same time to offer the best economic flood light led driver solution for light from 26W to 150W. Approved by CE institute, the led driver with multiple protections, like output OVP, SCP and OTP ,surge protection up to 6KV and wild range working temperature to ensuring the lifetime also at least 50,000 hours.
MOSO flood light led driver with it`s wild range options, satisfied all the customers` requirements from the whole world.
Flood Light LED Driver
Flood Light LED Driver,Programmable Flood Light LED Driver,Dimmable Flood Light LED Driver,Dali Flood Light LED Driver
Moso Electronics , https://www.mosoleddriver.com